Have you ever been bothered that after a perfect bath you have to stand in the cold winter wind more than one minute to put your underwear onto the clothes dryer, just because the old crank doesn’t work fluently? I have, it’s really painful for a person like me that doesn’t like cold weather in the winter. What I need is an automatic dryer that I can control remotely in the room. I built one, with less money but flexible functionalities.
Let’s see what features it has:
- Motor driven
- Mechanical position limitation
- Linear positioning with optical encoder
- Linear height control with analog rotator
- RF control
- MQTT control
I fixed it on the wall of balcony of my house, replaced the old crank of this liftable clothes dryer.
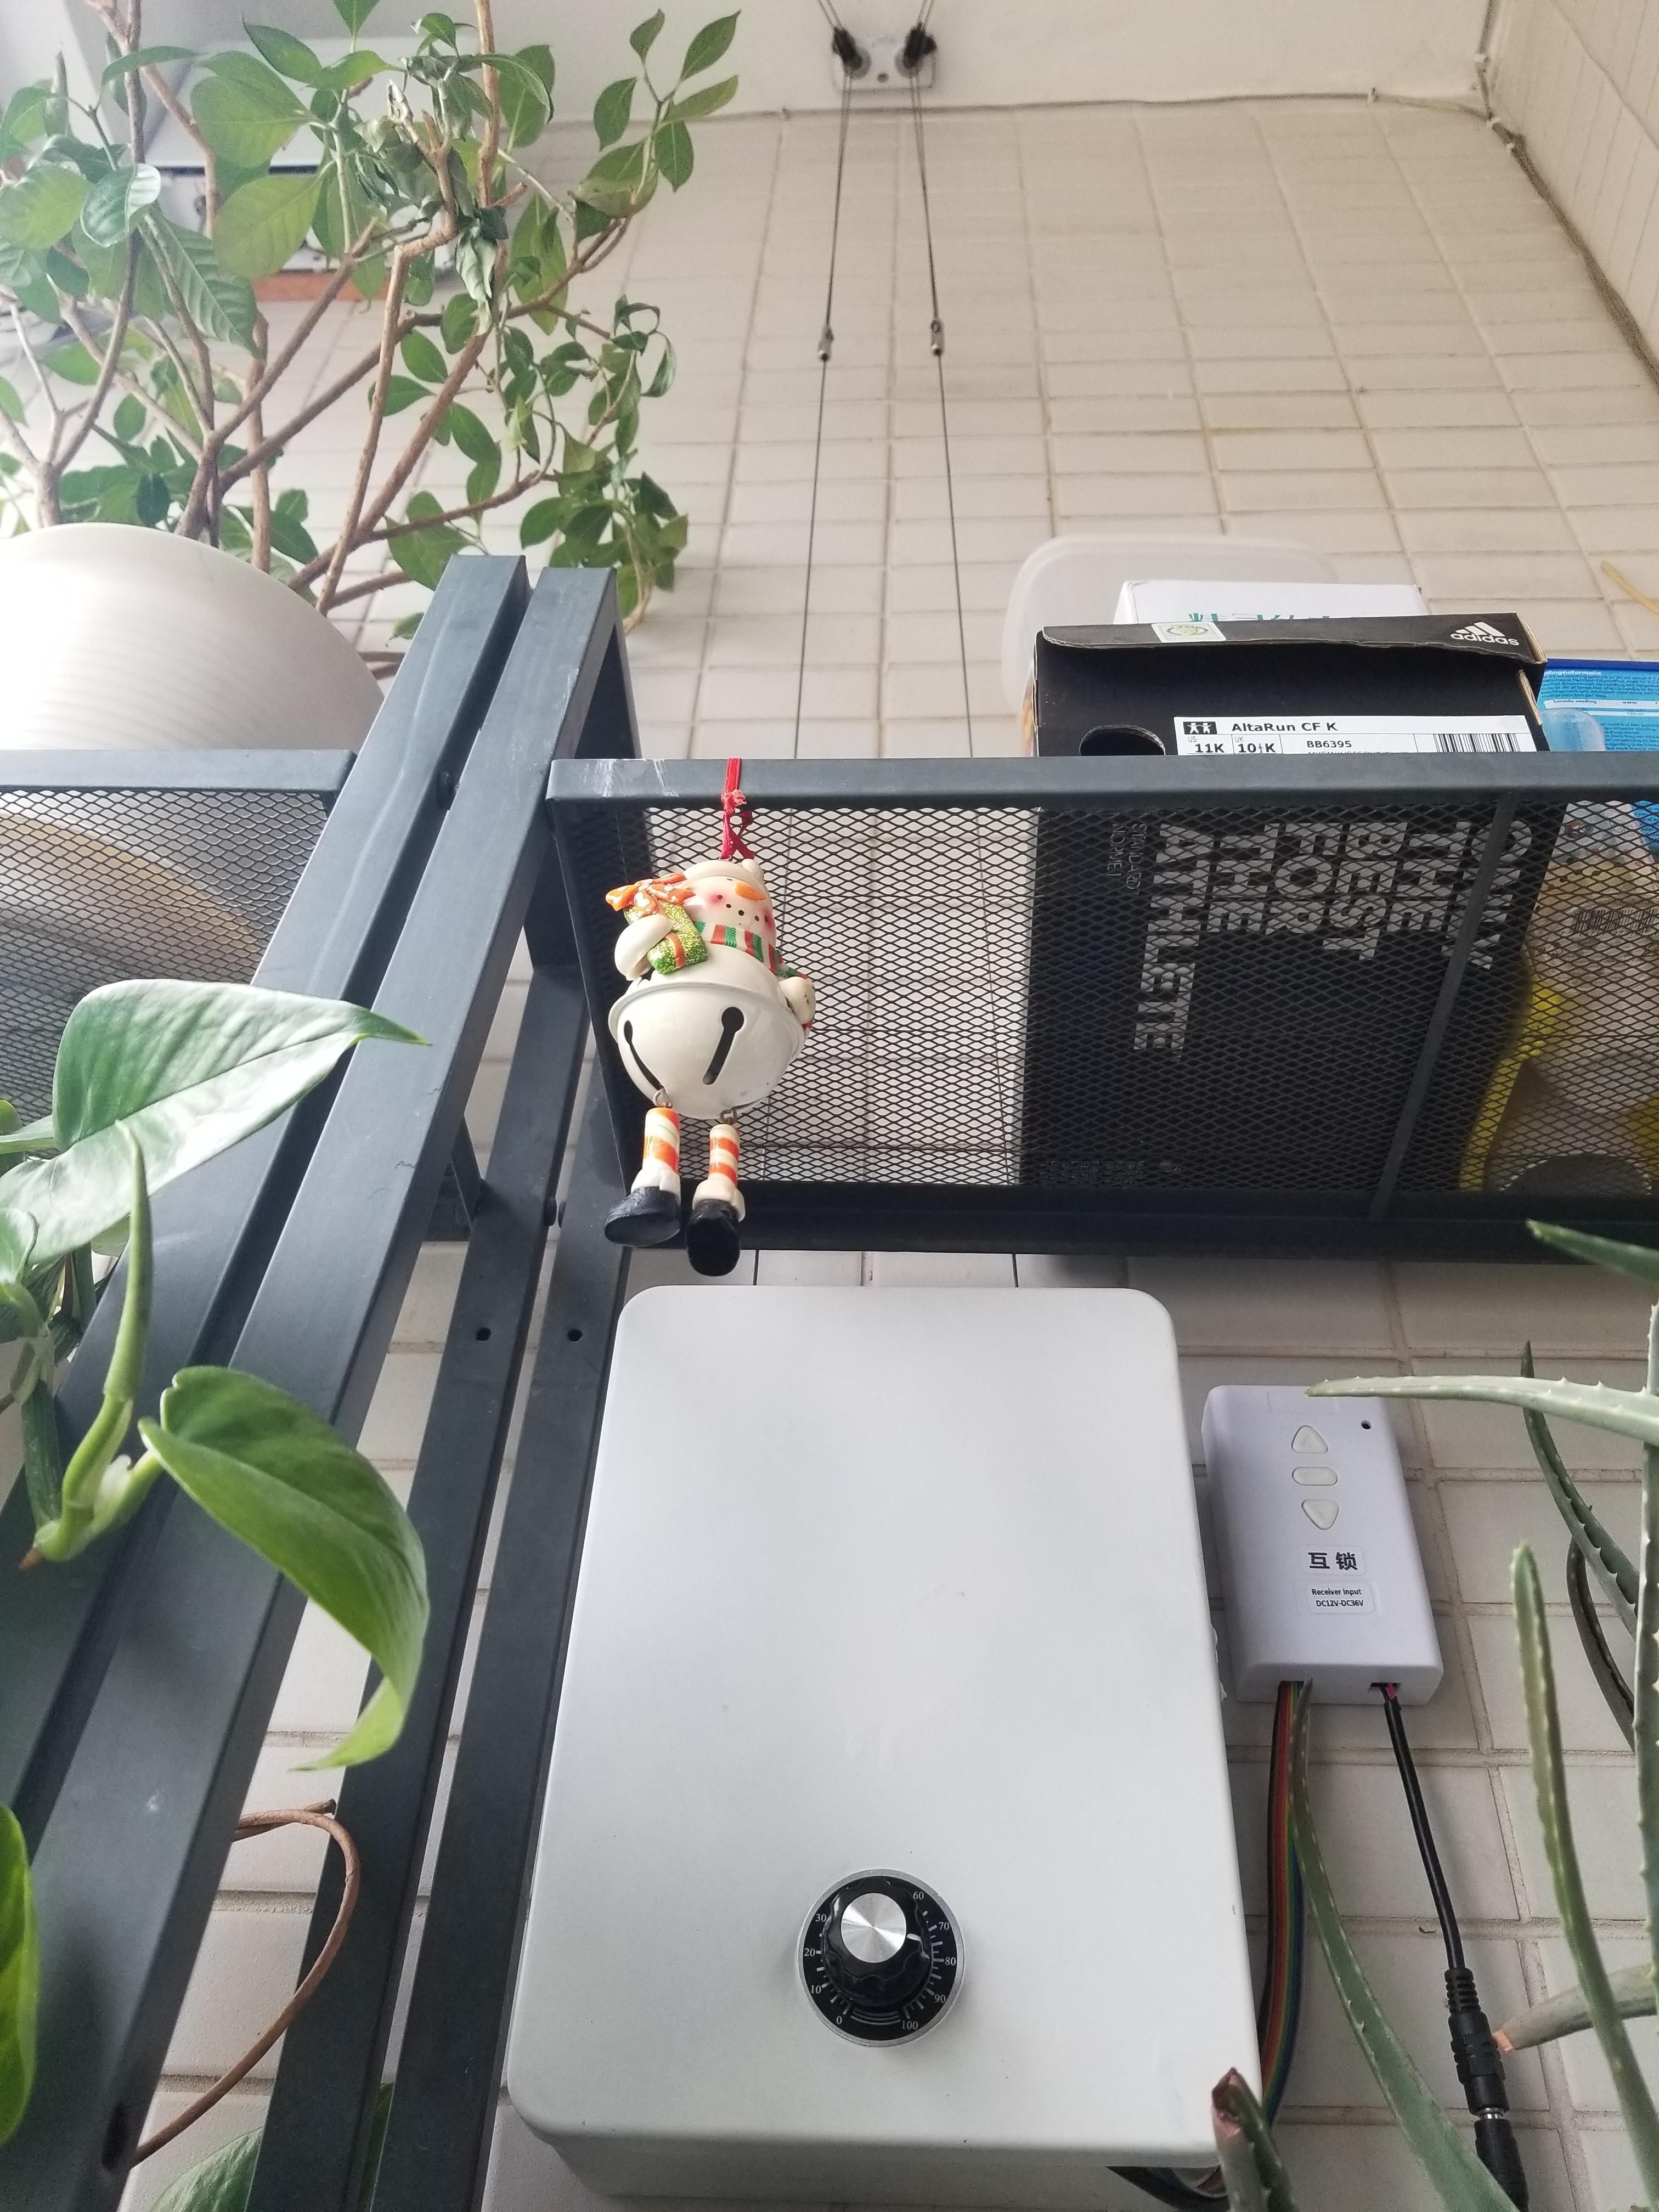
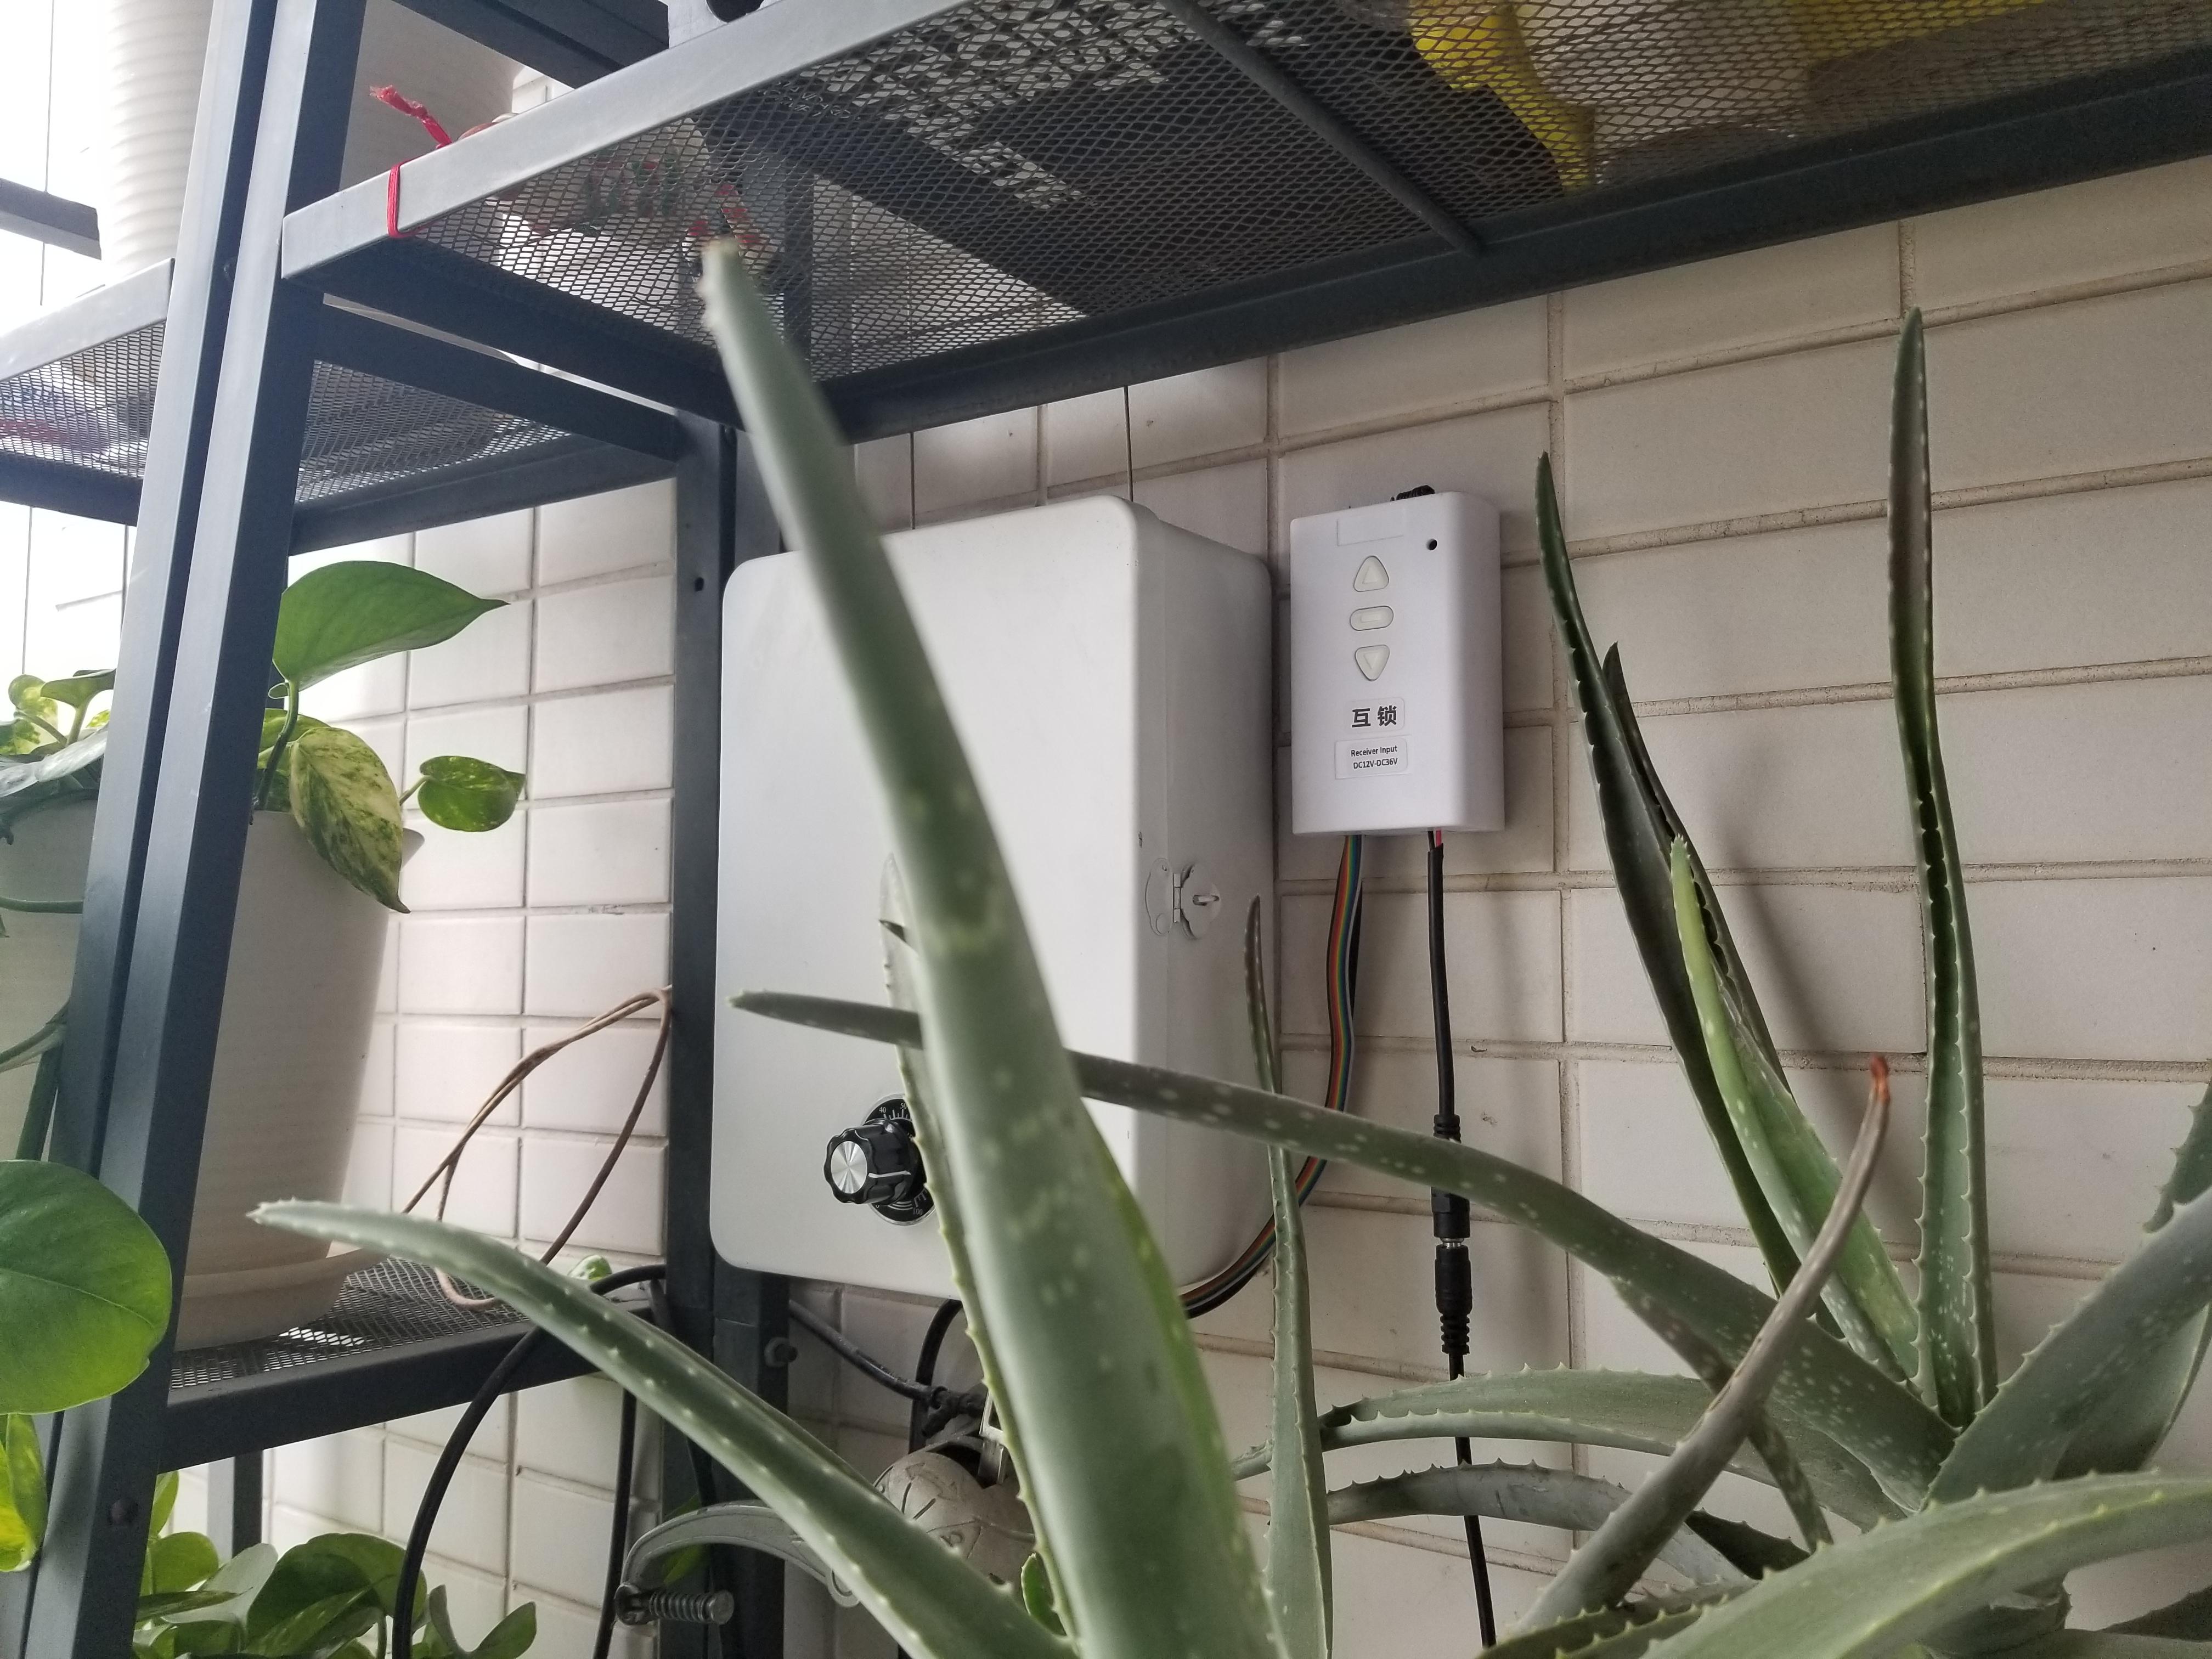
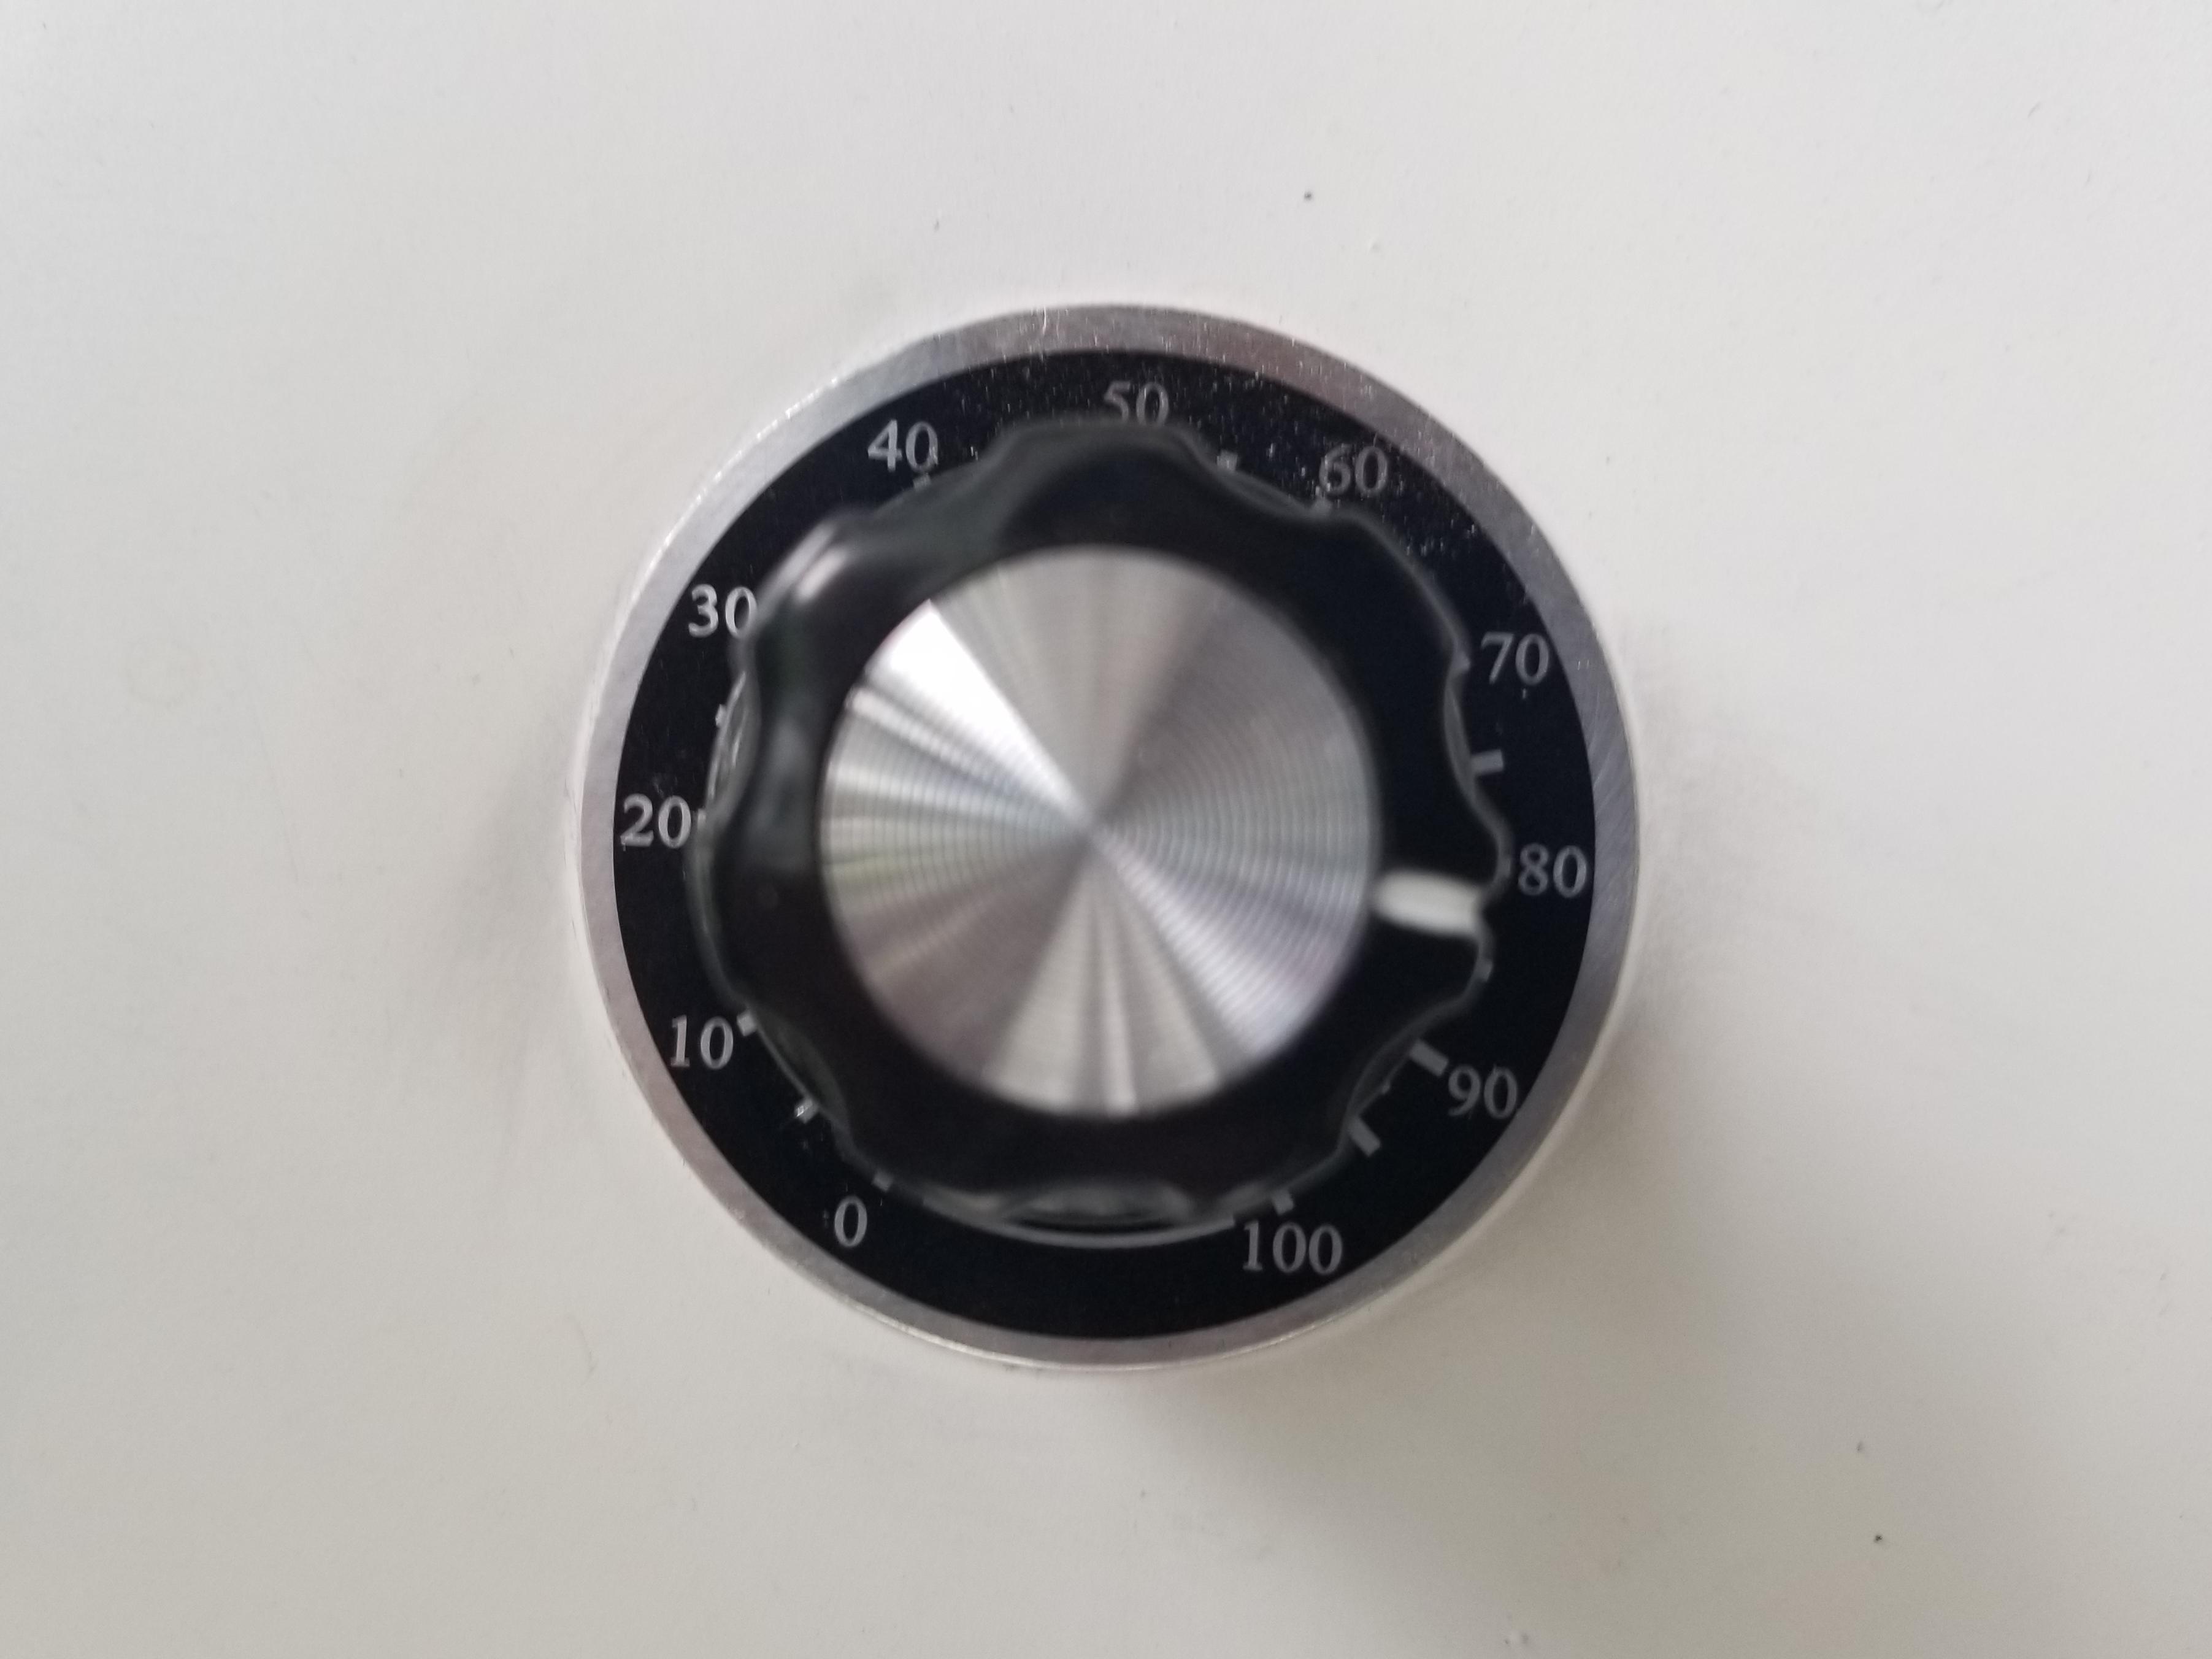
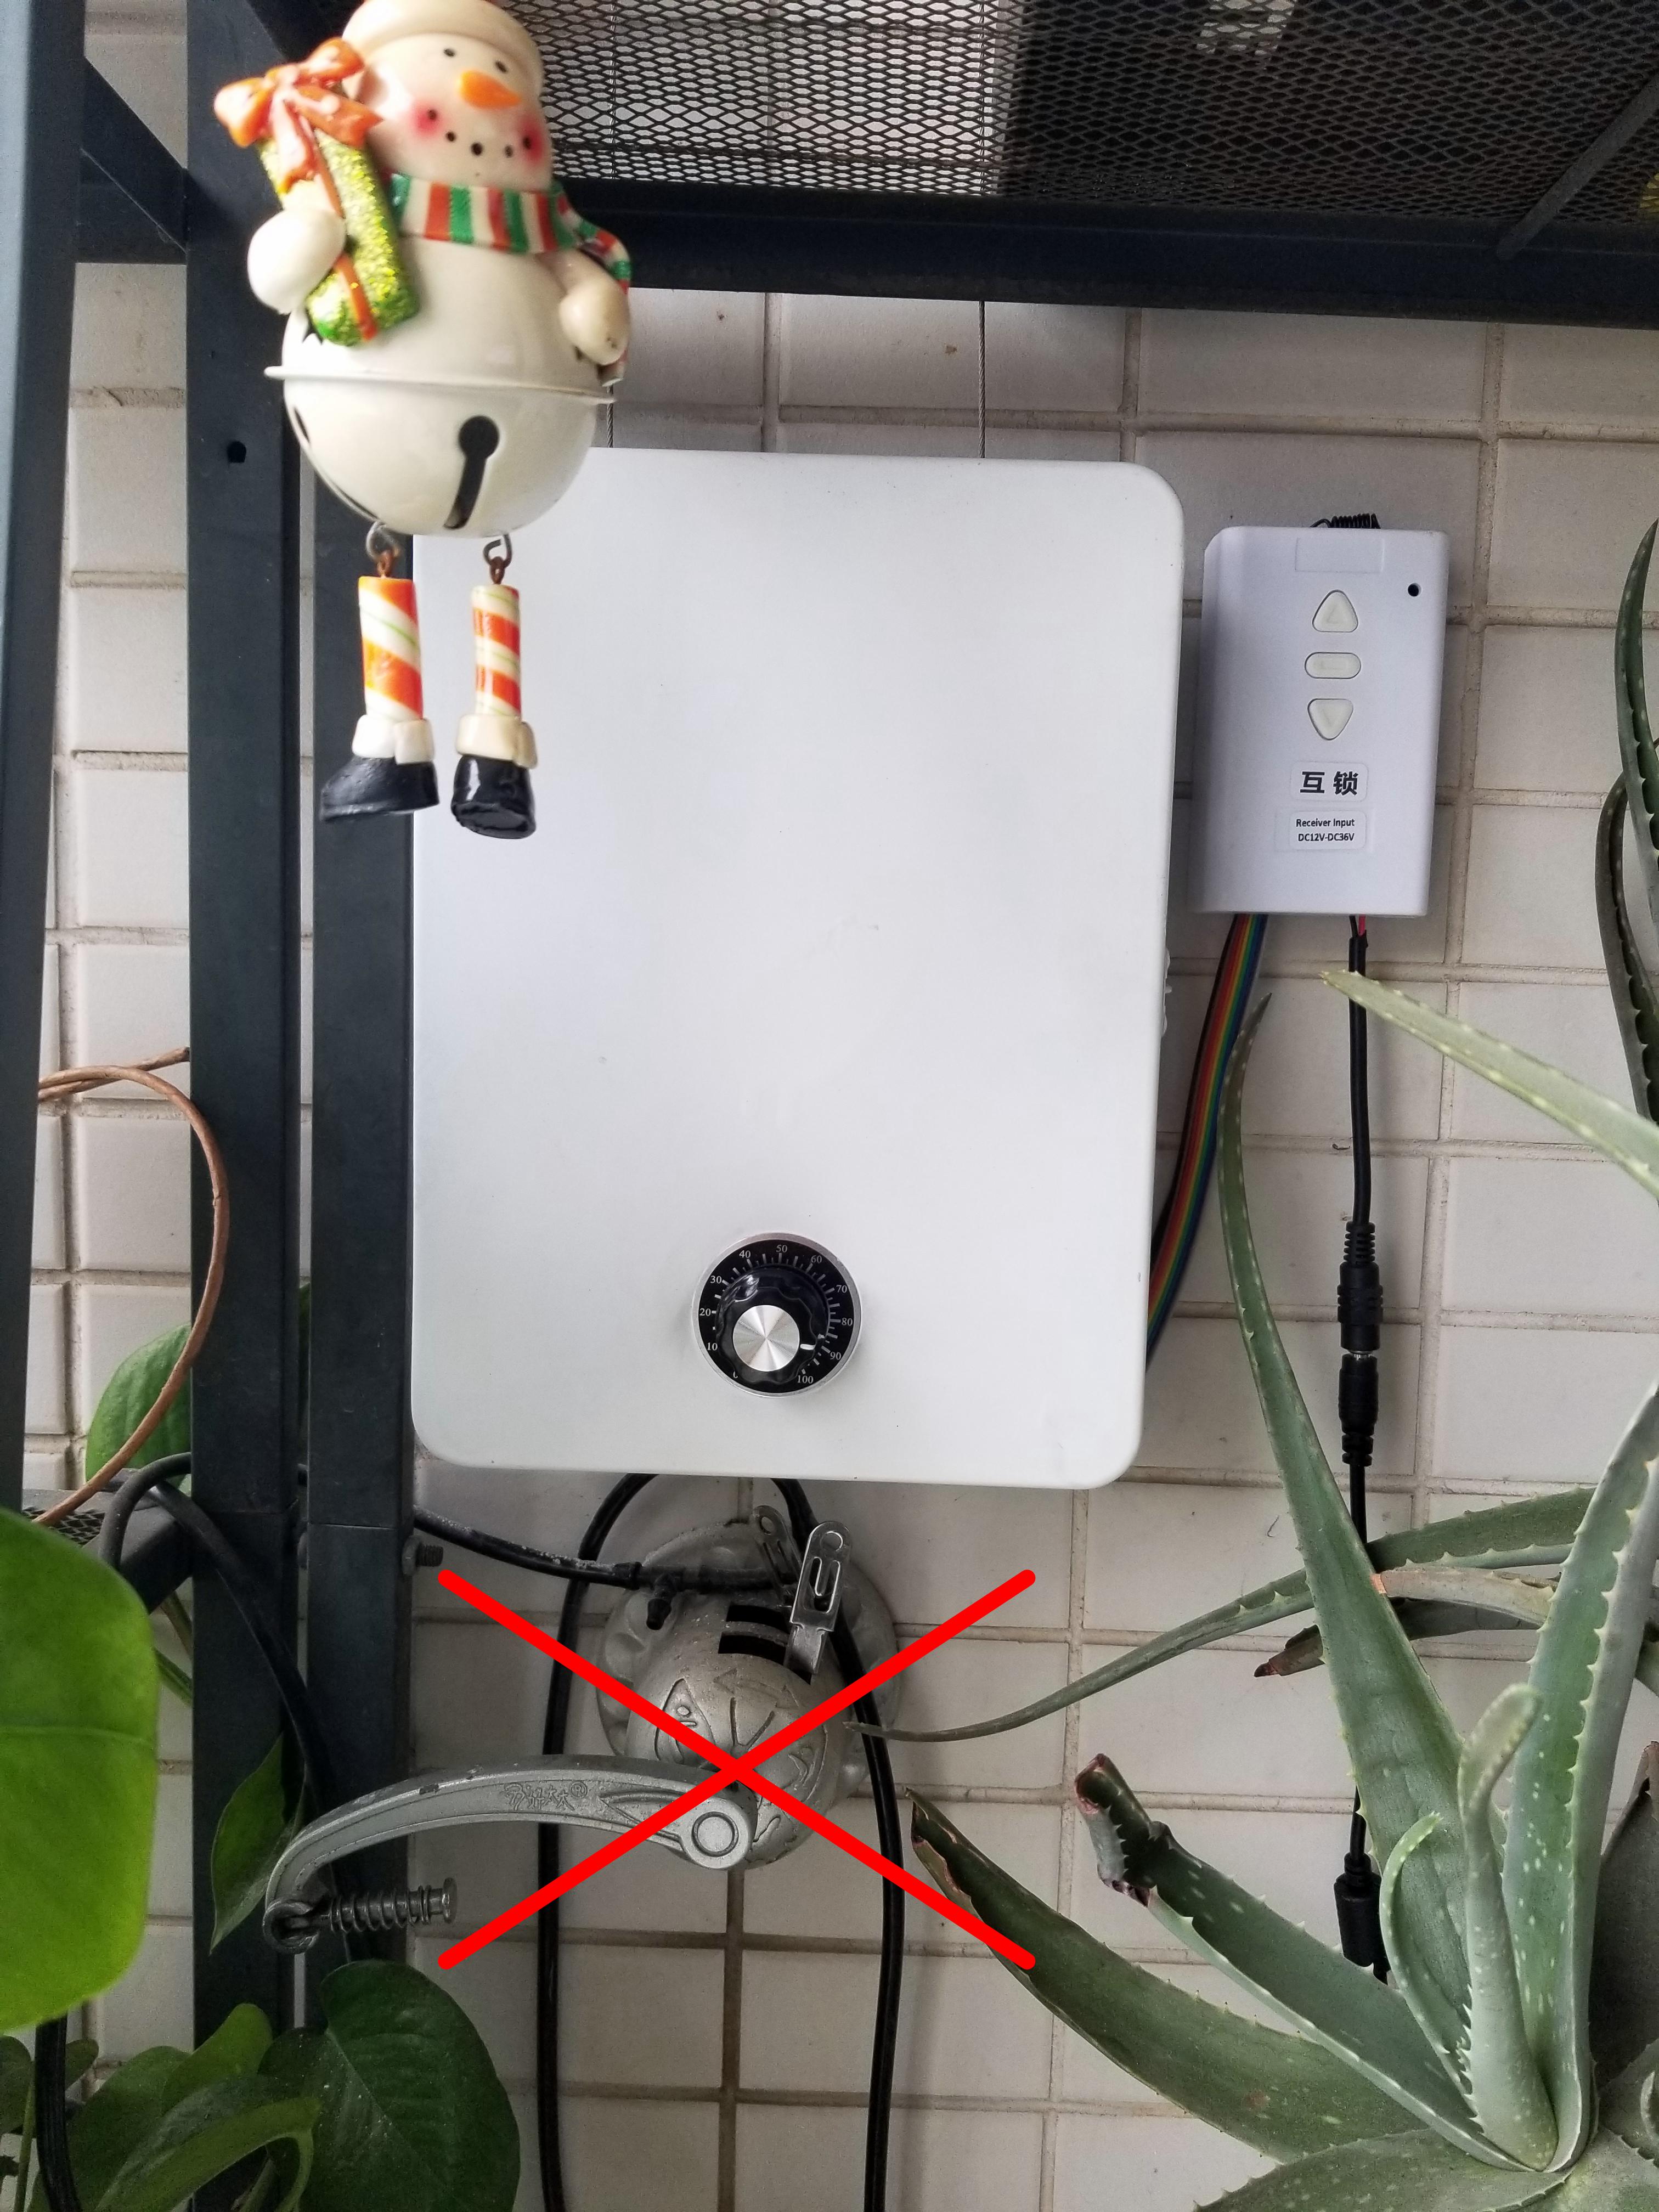
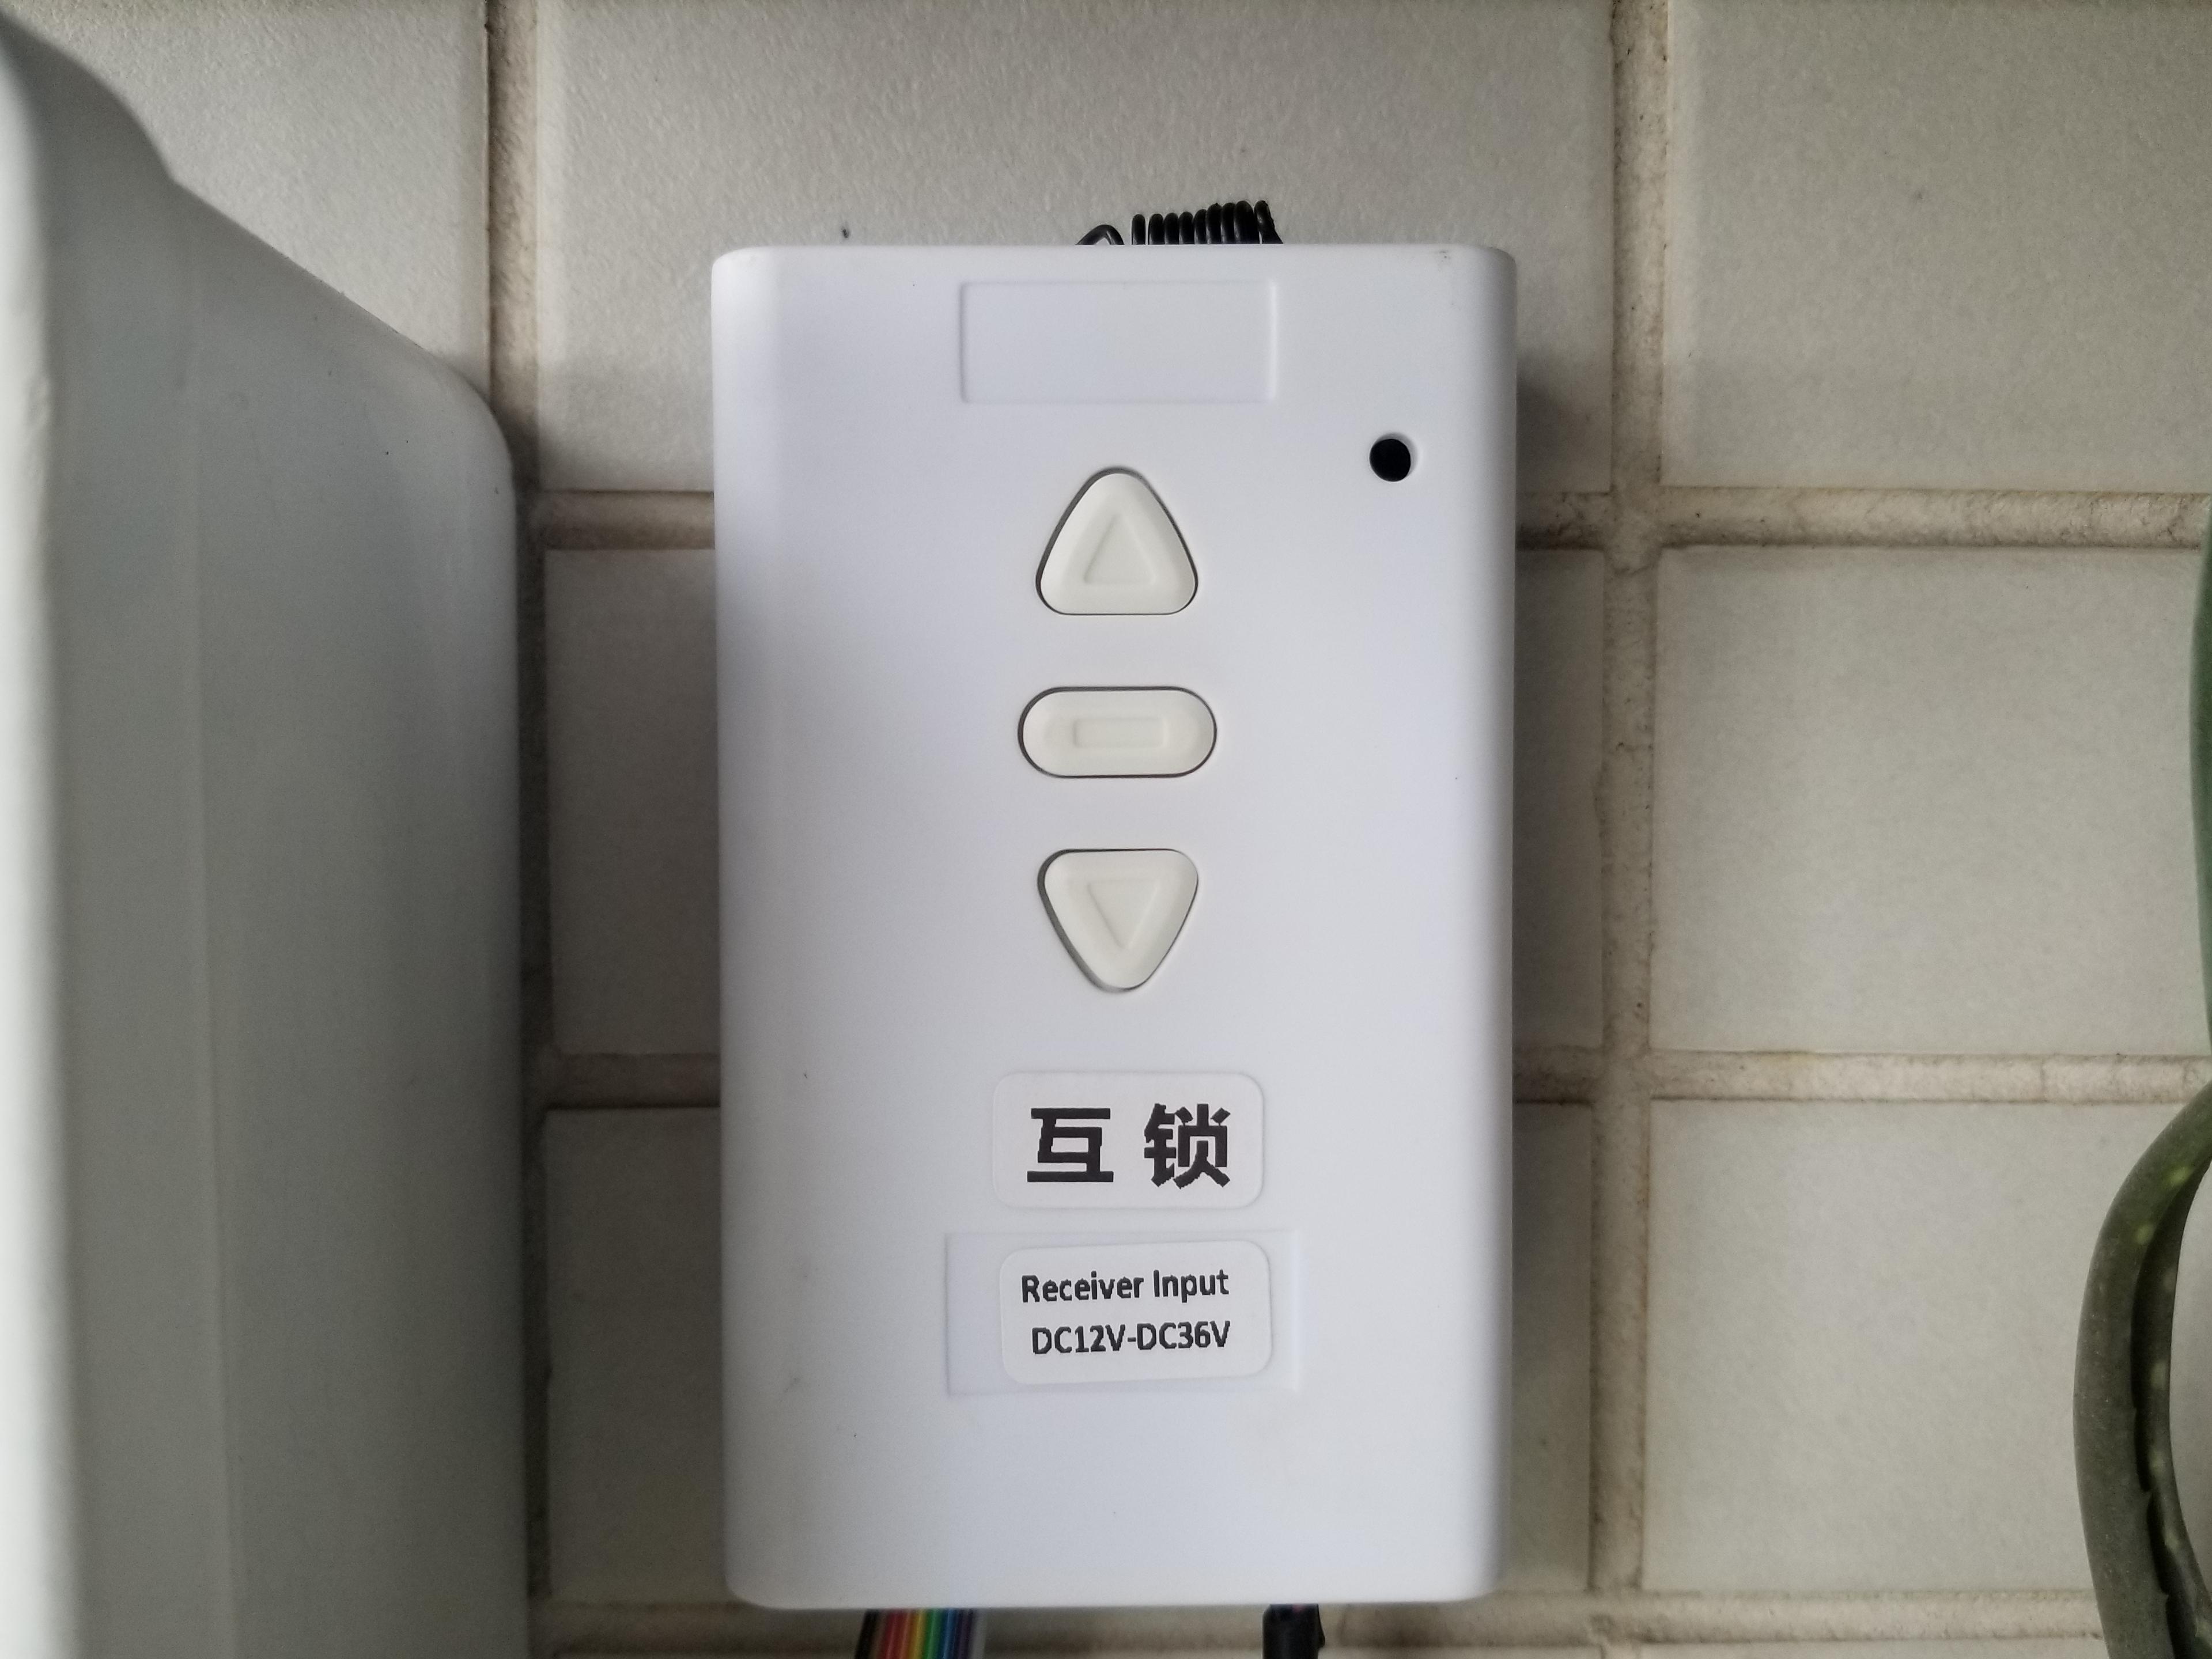
The motor controller with RF - I bought it from taobao.com of alibaba.
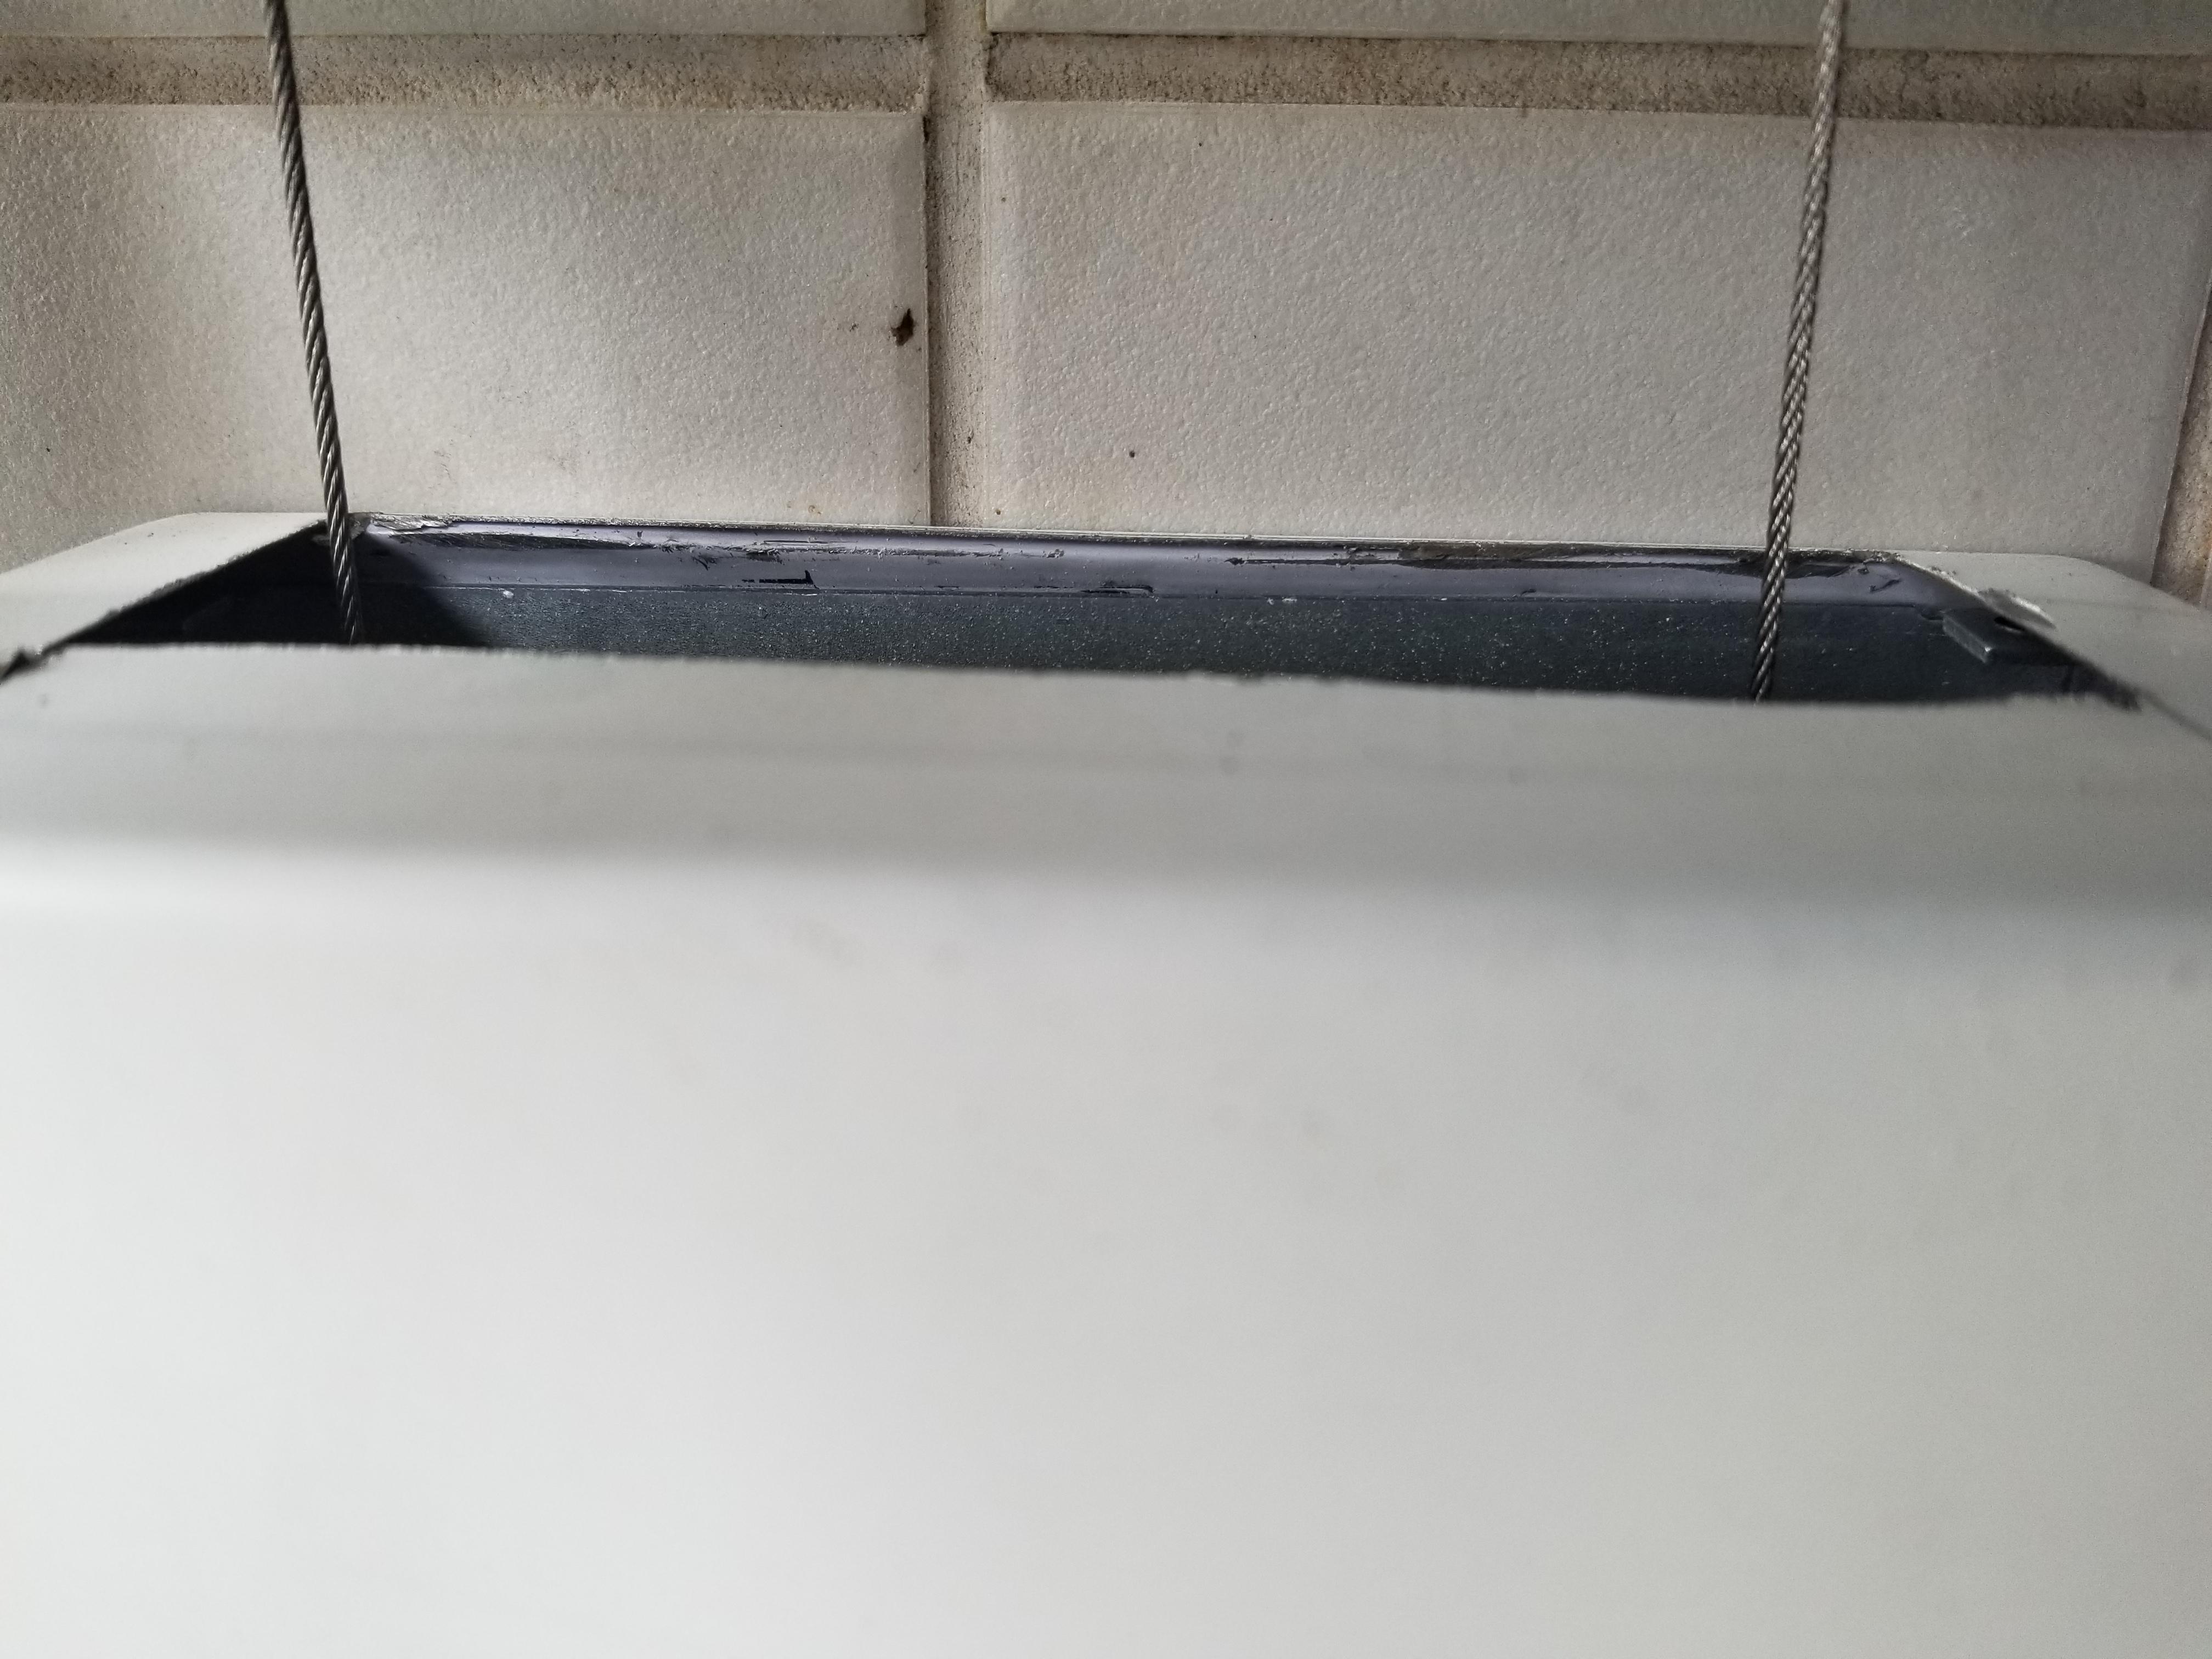
The closure is made of a gift box. I cut a window on the top to let the lifting rope go through.
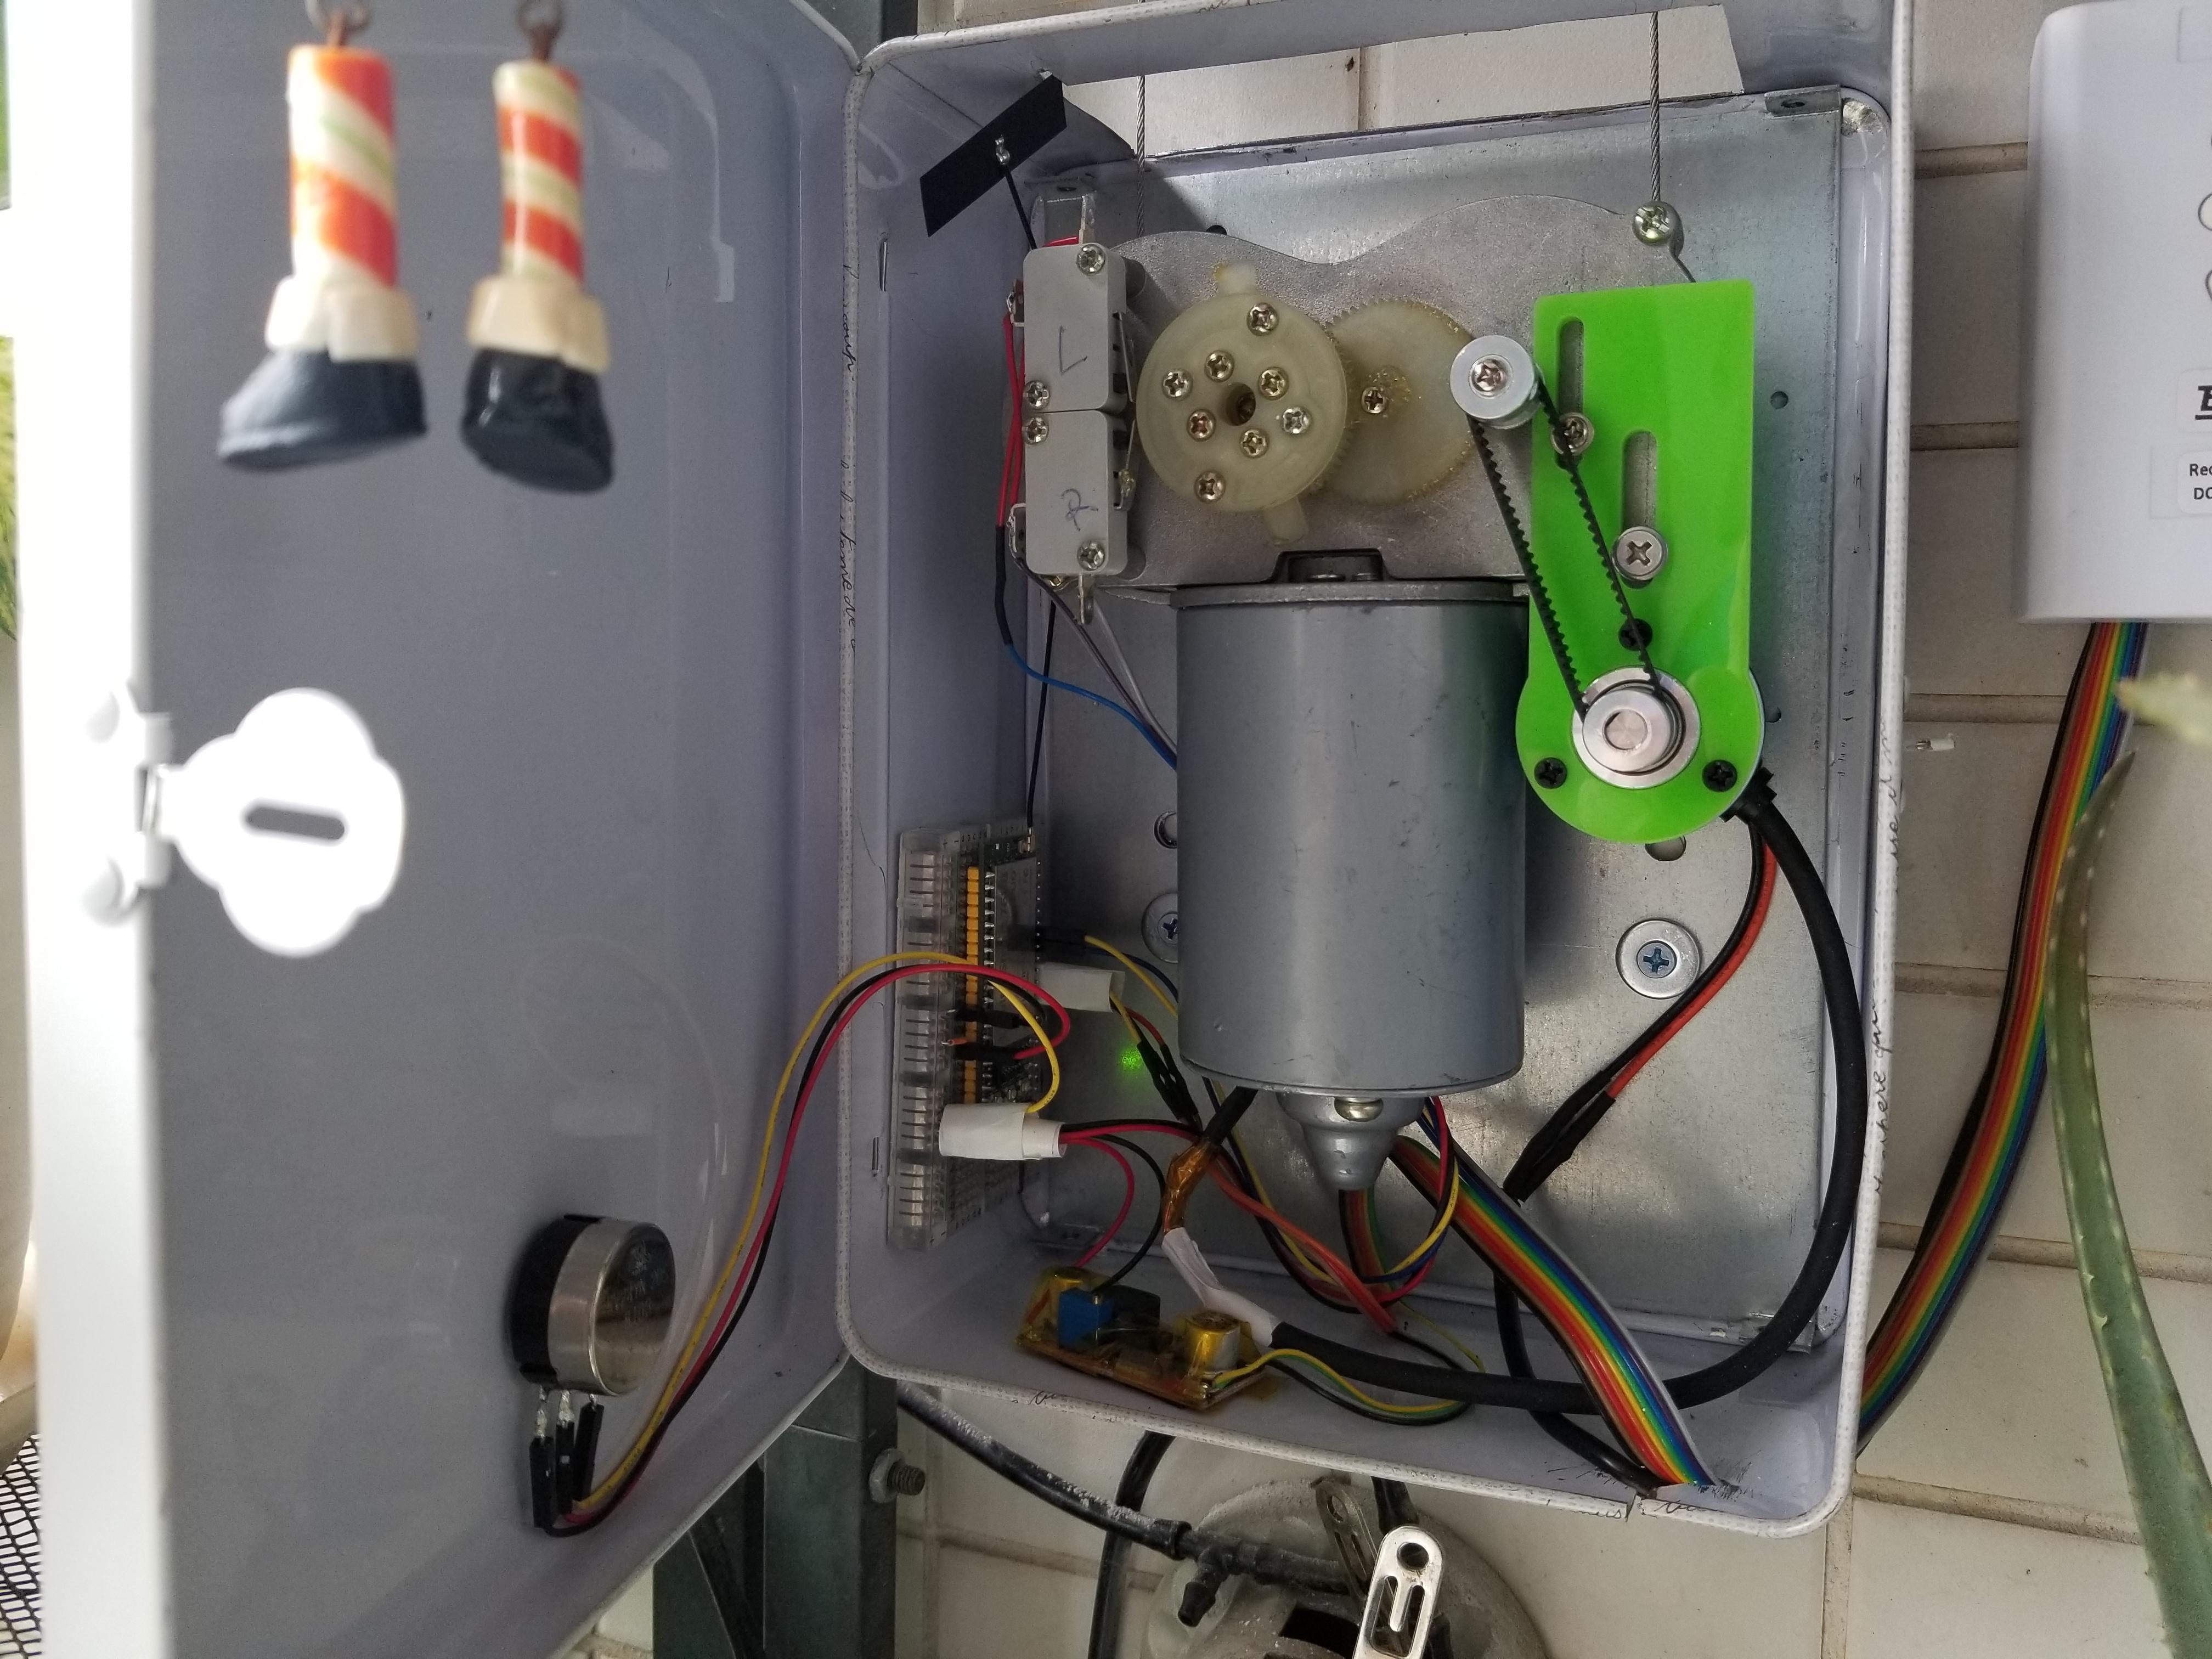
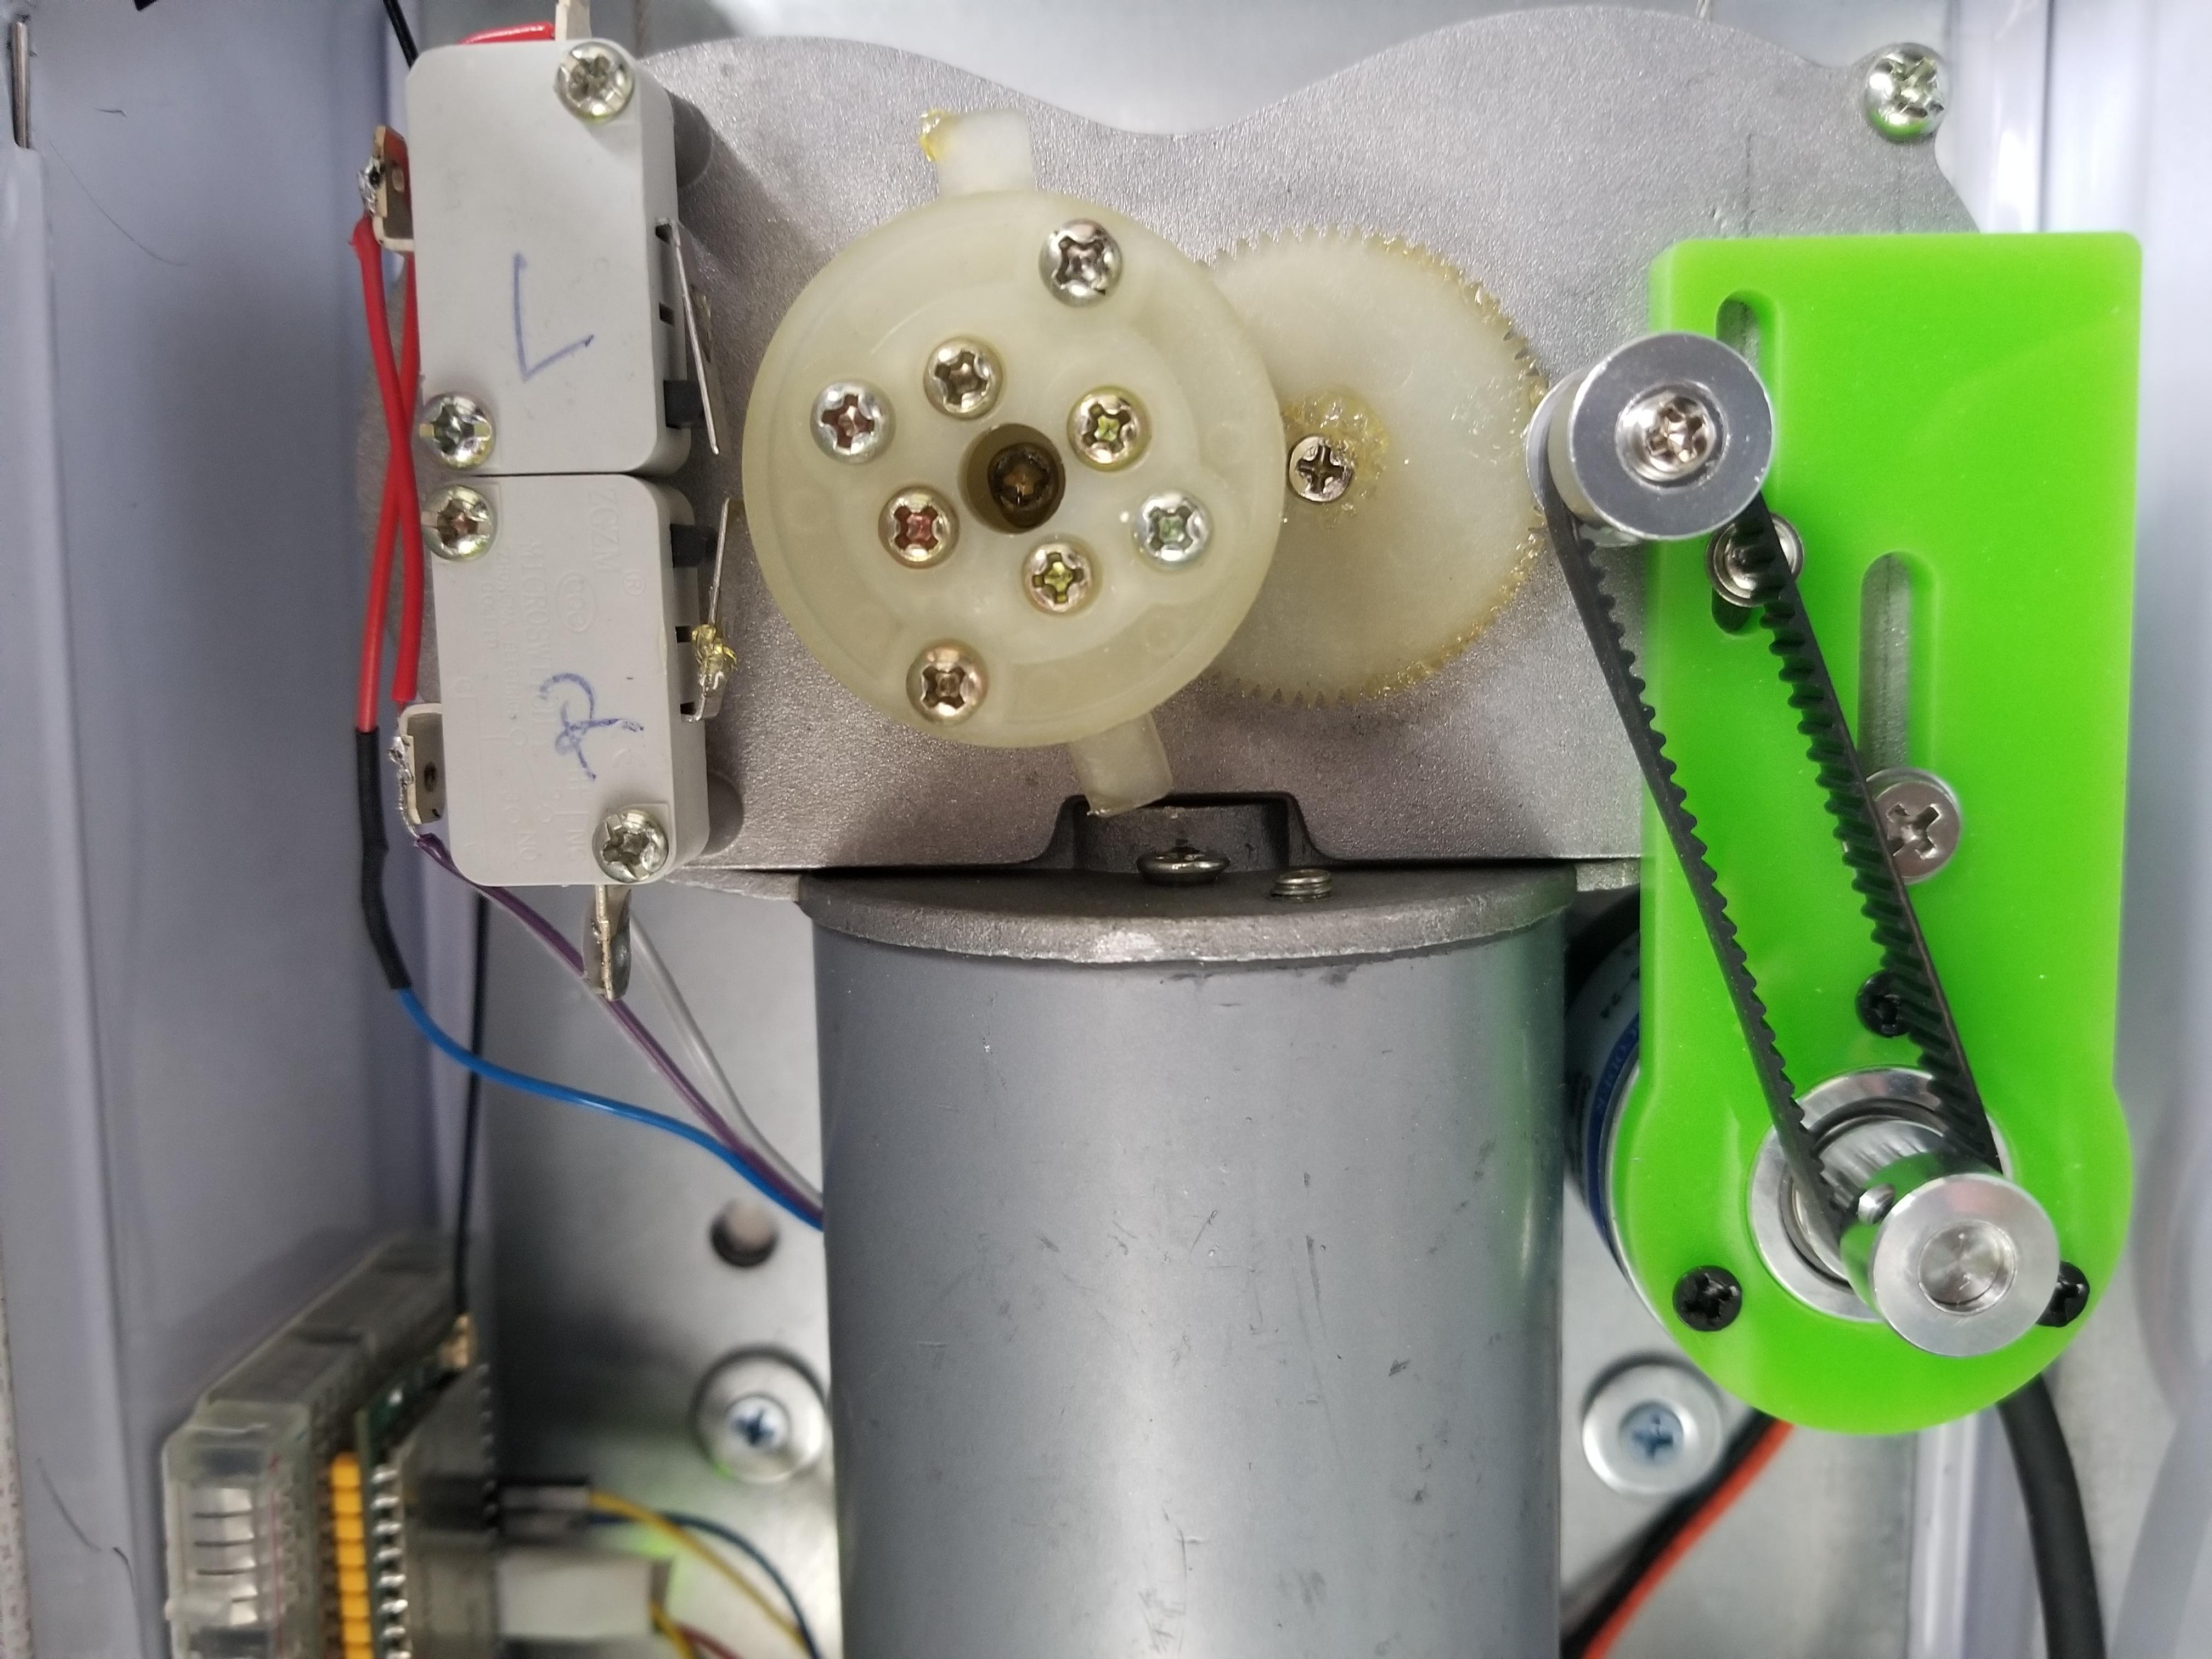
This is all the stuff inside the box, including motor, rope spooler, optical encoder, another controller board and a DC-DC convertor.
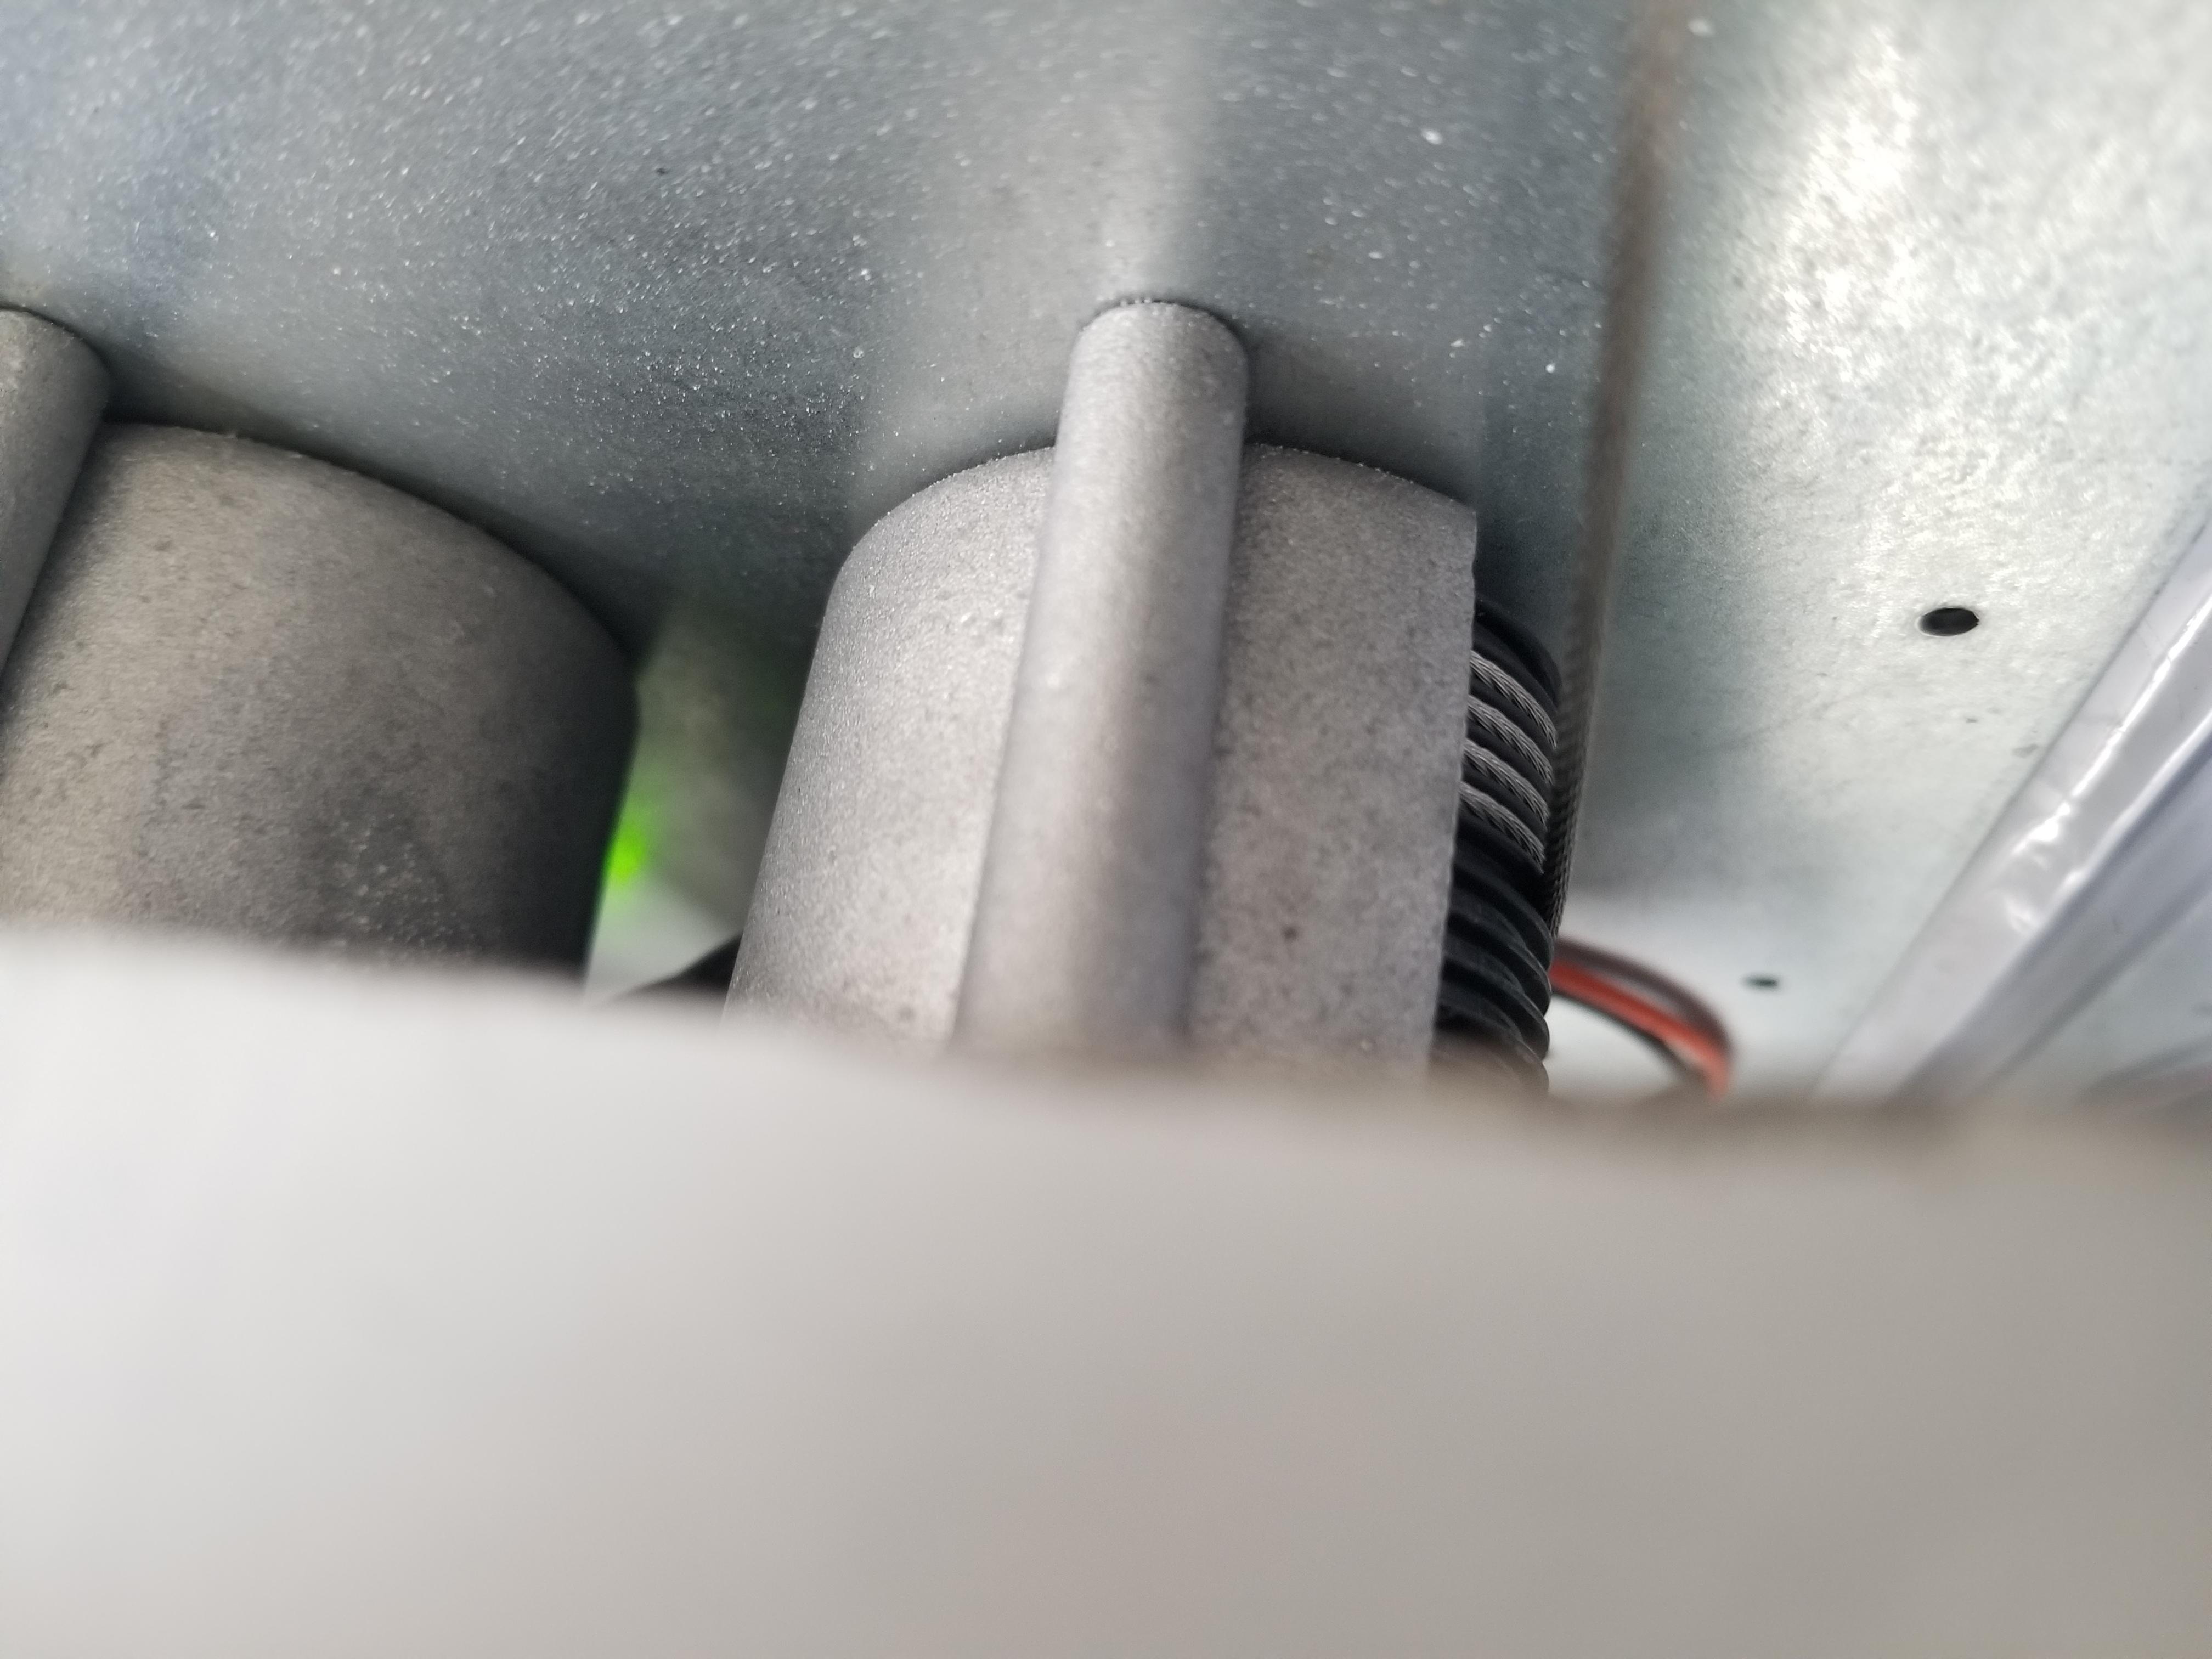
Rope spooler.
This is another controller board which communicates with the motor controller. The motor controller has extensional GPIOs for controlling the motor to UP/DOWN/STOP from outside.

The first function I want to have is the MQTT control, with which I can include this auto dryer into my home-assistant system. This means that I need the WiFi connection for the controller, I used the Linkit Smart 7688 Duo board from SeeedStudio. This board is a powerful little piece with low cost, it has:
- 580 MHz MIPS CPU
- Single input single output(1T1R) Wi-Fi 802.11 b/g/n (2.4G)
- Pin-out for GPIO, I2C, SPI, SPIS, UART, PWM and Ethernet Port
- 32MB Flash and 128MB DDR2 RAM
- USB host
- Micro SD slot
- Support for Arduino (ATmega32U4)

So I got a system diagram like this:

Programming
Arduino
1 |
|
Python script in OpenWrt
The MT7688 runs the OpenWrt system, it’s easy to program very complex logic there. I used my favorite programming language - Python. What I wrote is a bridge, between the Serial and MQTT.
1 | #!/usr/bin/env python |
Save this script to /root/mqtt2serial.py, and add it to rc.local to let it startup at boot.
1 | vim /etc/rc.local |
Home Assistant Configuration
The dryer can be seen as a Cover device in home-assistant. With the MQTT topics exposed in the bridge script, we can configure this cover in home-assistant’s configuration file like this:
configuration.yaml1
2
3
4
5
6
7
8
9
10
11
12
13
14
15
16
17
18
19
20
21
22
23
24
25
26
27
28
29cover:
- platform: mqtt
name: "Clothes Dryer"
command_topic: "rack/cmd"
set_position_topic: "rack/setpos"
state_topic: "rack/state"
availability_topic: "rack/alive"
qos: 0
payload_open: "OPEN"
payload_close: "CLOSE"
payload_stop: "STOP"
state_open: "open"
state_closed: "closed"
payload_available: "online"
payload_not_available: "offline"
optimistic: false
switch:
- platform: mqtt
name: "Clothes Dryer Calibrate C0"
command_topic: "rack/calibrate"
payload_on: "C0"
payload_off: "Null"
- platform: mqtt
name: "Clothes Dryer Calibrate C100"
command_topic: "rack/calibrate"
payload_on: "C100"
payload_off: "Null"
Those two switches are used to calibrate the 0 and 100 position of the cover device in the home-assistant. Use the physical button of the motor controller to control the dryer rack move to the top (the position that you’re comfortable with), switch on the home-assistant switch Clothes Dryer Calibrate C0 to remember the 0 position, then switch off Clothes Dryer Calibrate C0. Again use the physical button of the motor controller to control the dryer rack move to the bottom, switch on the home-assistant switch Clothes Dryer Calibrate C100 to remember the 100 position, then switch off Clothes Dryer Calibrate C100. Now you can control the dryer rack within home-assistant GUI.
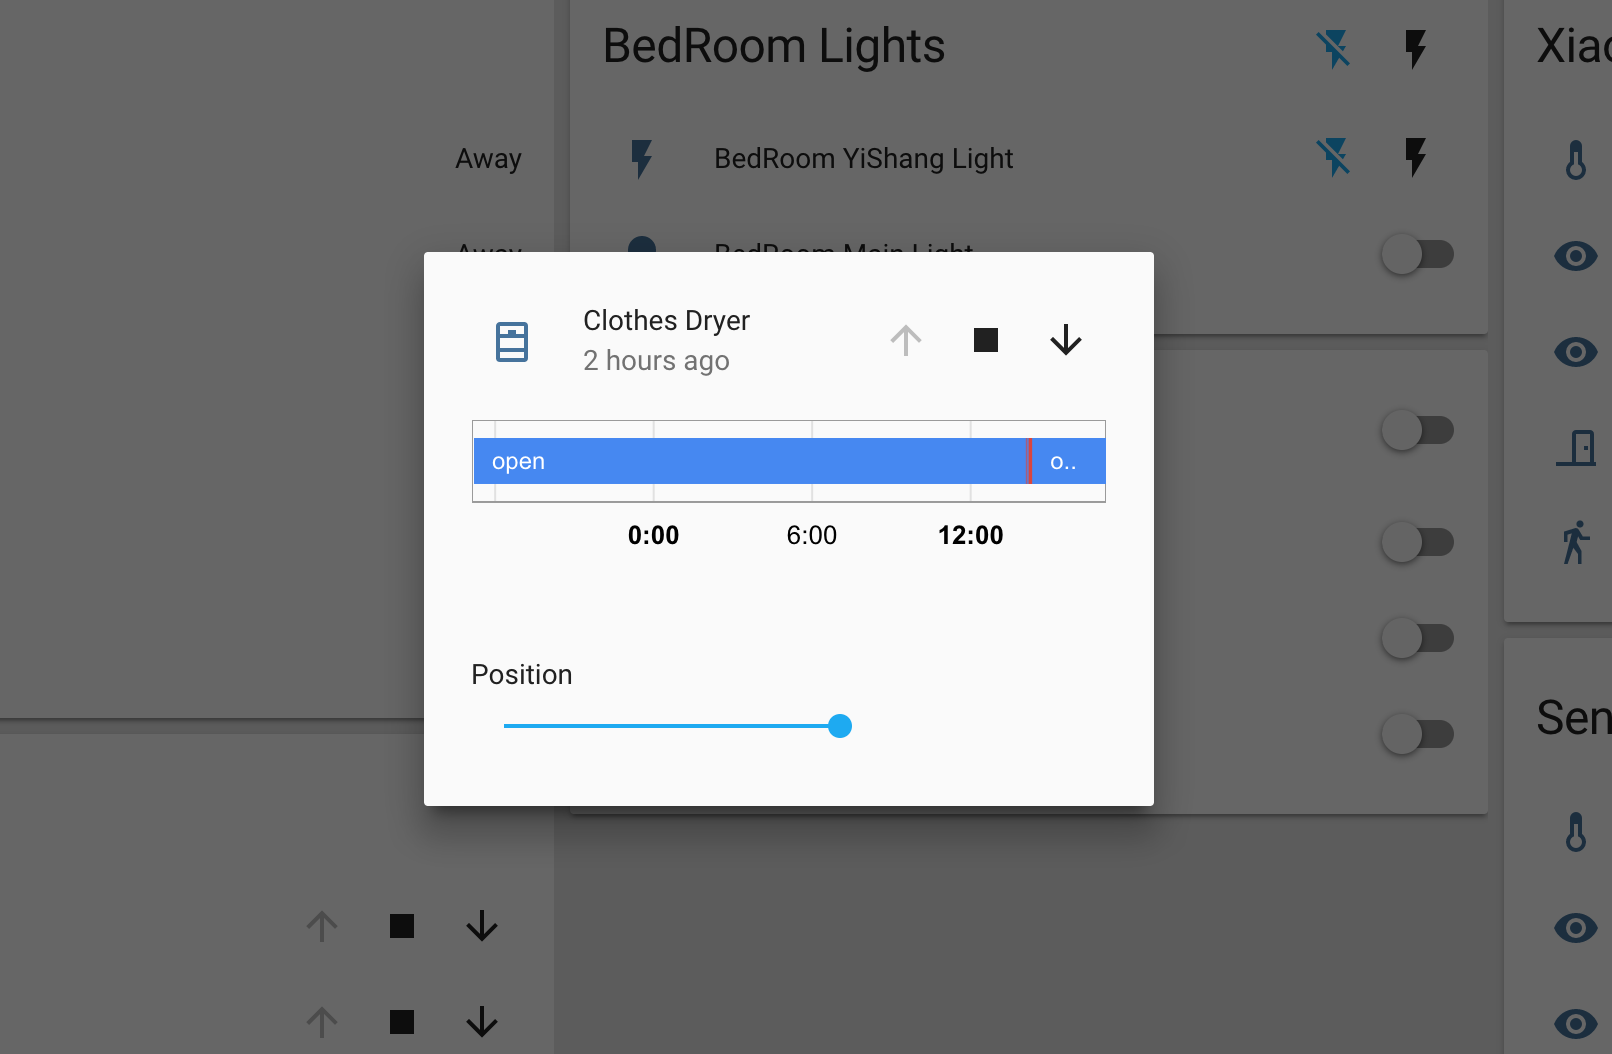
Position 100 means to lower down the rack to the bottom.